Scrivener organizing tips
Key Points to remember and consider when organizing Scrivener.
Have a Backup plan.
Understand how to back up Scrivener on a regular basis. Before writing lots of material, you could lose. Understand how Scrivener works with the cloud and how data can be stored. Understand the difference between a project folder and a zip backup. Have a plan for where you are going to store your backups and have them stored on the computer as well as off of it. If a crash occurs, this is one way to protect yourself, and when you’re actively writing, you should backup every day. You should also arrange to have the program automatically shut down and backup, even if you walk away. Have another plan specifically if you are working at multiple sites so that you can sync projects between these different locations. (You can read in-depth articles on backing up elsewhere on my web site. Backing up.)
2. Understand Scrivener can function as a fully offline program, but you can collaborate.
Scrivener allows you to share information between different computers/devices you own and with others as well.
3. Set up a proper work environment.
Strongly consider a multiple monitor setup if possible as this will speed working with Scrivener and associated programs.
4. Customize your Toolbars.
Learn how to customize your toolbar and format bar and include frequently used tools, or include ones which are easier to reach through the toolbar rather than the menu or keyboard shortcuts. This is especially true for multifunction tools like Project Settings, Project Targets, and Bookmarks. Some people prefer to use Keyboard shortcuts for various Scrivener Tools, I prefer them on the Toolbar so they are a click away. Modify the Toolbar to fit your needs and change as you learn Scrivener. Scrivener allows you to work the way which works best for you.
Understand the Binder-
Principals
A. Give your information a logical home and tag with labels, keywords and other metadata to make your information easy to find.
B. Name characters, locations, scenes as you write, ie now. You can always change later, but rough things in as you go, DON’T plan to do this later as later often never happens and you’re left with an unorganized mess.
C. Never permanently delete scenes, they may prove useful later, save discarded work in a Scraps folder outside of your trash folder to avoid accidental deletion. By saving these discarded scenes in a folder outside of your trash folder, you must actively send that folder to the trash AND then delete before it is gone. (A two-step process)
D. When you have the Binder, Metadata, Layouts, etc. organized the way you want consider saving this as a Project Template to use for future novel projects to make the next project easier. (A detailed blog on creating custom Project Templates has been posted on this site.)
E. Understand Bookmarks: Both Project and Document Bookmarks provide links to useful information while writing without leaving the Editor. You can view Bookmark information in the Inspector Bookmark window, or open the Bookmark in the Editor in a split view, Copyholder, or my favorite options as a Quick Reference Panel.
F. Organize your Metadata plan before writing. Metadata can be visual or nonvisual. The same Metadata type can change values during the course of the writing process.
Binder Organization:
Suggested Research Folders:
The default option is to include only the Manuscript/Draft in the compile output (and maybe a Front and Back Matter folder) (this is why I put the folders listed below in Research to avoid inclusion during the Compile process. Folders in the research section, allow you to bring in media, web pages, pdf files, and images into any of these folders which is not possible inside the Manuscript. You can change the order of these folders based on which are more crucial as you write. Moving important folders up or down based on your current writing needs.)
Start (Next Day) folder-
This could be a note to self about what needs to be done next at the START of your next writing session. This is very helpful if you do not work in a purely linear fashion.
Notes-
Keep information that includes kernels of ideas for the current project, information to research, character or plot choices etc. (This could also be kept on Scrivener’s Scratchpad.)
Characters Folder-
Character templates filled out for each POV character including the Character Arc (Outer Motivation and Obstacles and Inner Motivation and Obstacles (The Lie) with a Backstory Scene for the key event(s) that shaped the character and the false belief they need to overcome by the end of the story. Writing out the backstory moment that scarred them (helping to form the Lie) for each significant character and even other past scenes that reinforced the false belief are crucial to creating and understanding your main novel characters. Having this to review can help breathe life into your writing.
Antagonist/Villain Folder-
This person/object is crucial as the opposing force in your story and requires as much attention as the main POV. Their backstory is key to explain why they became who they are. If evil, a logical reason makes them compelling. What is your antagonist's thematic significance? Or how do they help you express some part of your story's central theme? Your antagonist is a great vehicle for expressing your theme because he or she drives the external conflict, which is a visual metaphor for the protagonist’s inner conflict. So, your antagonist, and the conflict he or she creates, should directly tie to your theme.
Cast Folder-
A list of all the characters in your story. This becomes easy if you have a keyword for every character in your novel. I divide my cast into categories like POV’s (would be in the Character Folder), Villain (would be in the Antagonist/Villain Folder), Side Characters, Minor Characters, or by specific groups like a family. I add age, sex, and role to the character keyword. You can add as much information as you want and expand the Keyword Panel to see this. But when you close and reopen the Panel you are focused again on the Name/first words in the Keyword description, so it is possible to add a lengthy description to quickly define a character in this manner and drag the information into Scrivener where it will be helpful.
A Cast List-
I drag the keywords groups into a blank document, which creates a list of these keywords. Doing this, I now have a cast list. This allows you to check names to make sure your character names are distinct and memorable and not confusing by having too many similar names or names beginning with the same letter. If you add descriptions, then you can make sure minor characters are not filling overlapping roles which could be combined.
Location Folder-
A list of all the locations in your story and their research information. This may include location templates, maps, and images as well.
Scraps Folder-
Where any deleted scenes are placed. NEVER permanently delete a scene. Discarded Scenes may be useful as a kernel to write something else, or if writing a series might help in another book in the series. Do not place directly in the Trash folder. It is too easy to accidentally delete these with a single click inside the Trash folder. Placing them here requires you to place this folder in the Trash and then empty the Trash (two steps) before any discarded Scenes can be deleted. You’ll thank yourself for being more careful.
Sequel Folder-
This could where you keep notes on ideas or plots for potential future books in a series, or even characters you like to further develop in the future. As you write, your mind will come up with ideas for the future. Write them down as you think of them. Not doing so makes it too easy for these ideas to be forgotten.
Scene Idea Folder-
These could be ideas for scenes, partial scenes, or ideas you are not sure about including or haven’t found a place in the story for yet. Random Brain dump ideas as build the story. This could include a list of overused words.
Editing Issues- You can keep a list of issues that have appeared in other books/projects, or things you encounter during the editing process/writing process. This helps you remember things to focus on as you revise. This could include a list of overused words. As you work, the issues that plague your work will evolve or you will notice more. Update the information you need to correct in this folder to produce a polished product. Look at this periodically as you edit to remind of things to monitor for while editing. I have a separate Editing Project, which contains regex information, grammar rules and articles on the editing process. I can pull information from this central Project as I edit.
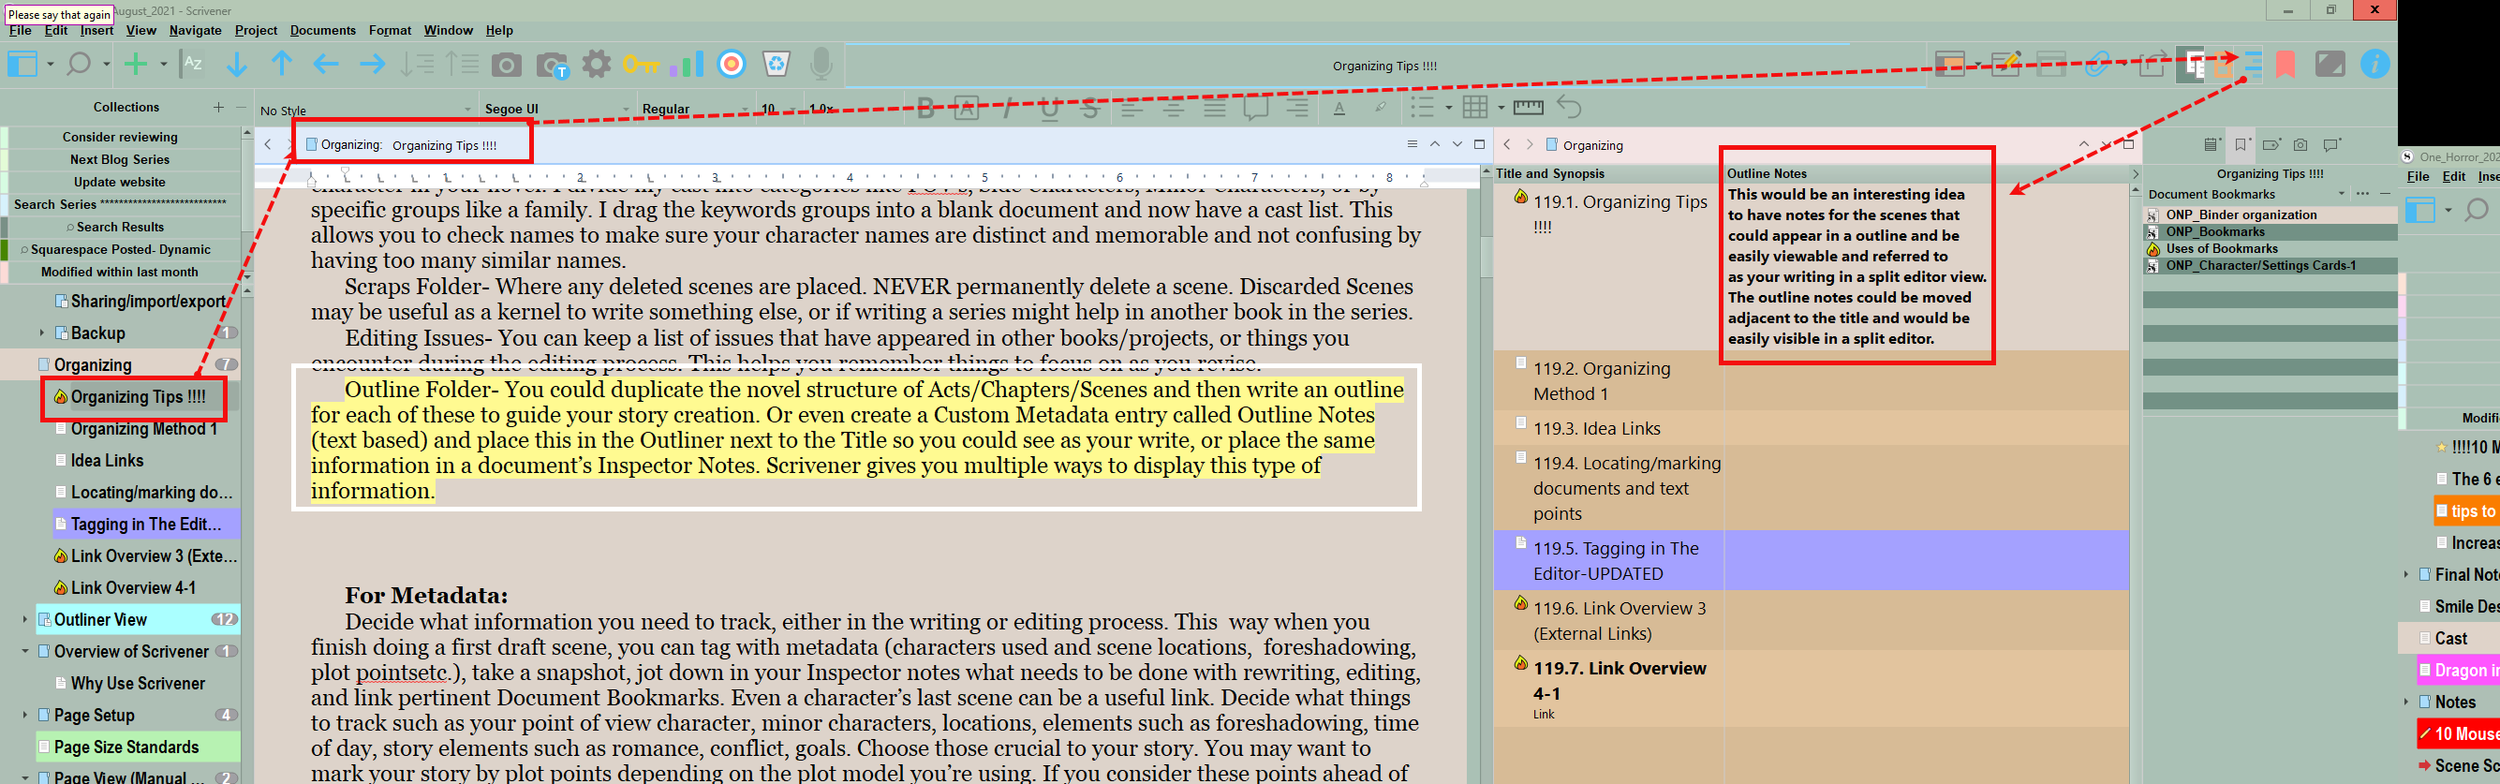
Outline Folder-
You could duplicate the novel structure of Acts/Chapters/Scenes and then write an outline for each of these to guide your story creation. Or even create a Custom Metadata entry called Outline Notes (text based) and place this in the Outliner next to the Title so you could see as your write, or place the same information in a document’s Inspector Notes. Scrivener gives you multiple ways to display this type of information.
A split Editor view with the scene on the left and the Outliner view on the right with outline notes.

Here the Outline notes, or scene thoughts are kept in the scene’s Inspector notes.
Metadata Folder-
(See Metadata Usage Folder below)
Icons Folder-
How do you intend to use the default Scrivener icons, or any custom ones in your project to give you visual cues on your progress. I use green, red, and black house icons for Act I,II,III material and a program icon for Prowriting Aid to signify my first edit using the software as I go through the first draft. These are simple examples and icon use can get more complex depending on what makes sense to you. Simple geometric shapes as icons are easy to see and colors such as green, yellow, and red can indicate your progress on editing or writing for an individual scene.
Comments-
How do you intend to use Comments? Will you highlight the first time a character is introduced, backstory points, key plot points, foreshadowing, etc. Do you want to use specific comment colors for key characters. Should their keyword or label colors match? You can create up to sixteen custom colors to go with the six default comment colors.
Plotting Folder-
This folder could be used several way such as a list of beat sheets for a Plot model you are using like Save the Cat. (An Opening Image, Inciting Incident/Catalyst, Debate, etc) You could list here each main character’s goals and obstacles (Do you have enough obstacles for the story?) they will face during the story or if a pantser add these as the story evolves. Referring to this can help keep the story on track. If you know how your story ends, this can help you focus the beginning and middle sections of the story toward your planned end, though this may evolve over the course of writing the novel.
Story Line/Subplotting Folder-
Here you would have the main plot/story line, perhaps a chronic issue or concern the POV must overcome to reach the end of the story, and any other subplots intertwined with the main or which involve other novel characters. You could even have a files for threads. Which are brief story problems that are resolved over the course of a few scenes and include the intended solution and impact on the whole story/character. Here you could list the keywords associated with each subplot and whether you are tying a specific comment color to it. By using keywords, you can use search collections to find every scene with a particular subplot and see the whole thing at a glance in the Scrivening view.
Timeline Folder-
Here you would list timeline events with custom metadata. Placing dates in the Synopsis make it easy to see on Index cards or in the Outline if showing the Synopsis. Do you list key events and dates or tie keywords to the timeline. This may be more crucial in mysteries or crime stories.
Themes Folder-
Here you would list themes running through the story and decide if you want to use keywords and comments to mark these. If so, what comment color will you assign, or tagging ideas?
Unresolved Folder-
Here you might list issues with character development, unresolved plot lines, situations lacking a solution, or other story issues you encounter as you write. You could open this document(s) in a Quick Reference Panel to float above your Editor as you write to remind you of problems that need to be solved. (A multi monitor setup makes using the Quick Reference Panel more effective if it is on a second, or third screen.)
Clues Folder/Foreshadow Folder-
This could include clues (especially for a mystery writer), foreshadow information and where you introduced it and how often afterwards and to who. This could be saved in the form of a table to help you track this in a story. You may know the role in the story for the element, but not how and where to introduce it. This table can keep you focused. You can also mark scenes with clues using keywords based on specific clues, or foreshadowing. If you combine these with comments highlighting the relevant info, it then becomes easy to quickly track down this information and update or expand as needed.

Links folder-
This can hold files I call Link Hubs. For example I will create a Character Link Hub with the name of every POV character and any others that have information stored on them and each name or piece of data is a link to the information. If I put my Character Link Hub in my Project Bookmarks, this becomes a way to quickly reach every character profile can be had without leaving the Scene I am writing. I do this for locations and key Worldbuilding information. Thus, with a few Link Hubs I can reach crucial information easily while in the Scene. Or I could have my Bookmarks open in a Quick Reference Panel, which then this floats above the scene or on another monitor to refer to.
Feedback Folder-
Here you can copy and paste emails, feedback, or summarize discussions you had with Beta readers, critique partners, editors. This is information available to use during your revisions.
Marketing Folder-
Here you could have files for Titles (if still struggling for one), Promotional Text/Book Blurb, Ideas for Promoting the book, etc.
More to come in part two.